Nginx基本使用
1、简介
Nginx (engine x) 是一个高性能的HTTP和反向代理web服务器 ,同时也提供了IMAP/POP3/SMTP服务。
其将源代码以类BSD许可证的形式发布,因它的稳定性、丰富的功能集、简单的配置文件和低系统资源的消耗而闻名。
2022年01月25日,nginx 1.21.6发布Nginx是一款轻量级的Web 服务器/反向代理服务器及电子邮件(IMAP/POP3)代理服务器,在BSD-like 协议下发行。其特点是占有内存少,并发能力强,事实上nginx的并发能力在同类型的网页服务器中表现较好。

主要作用:
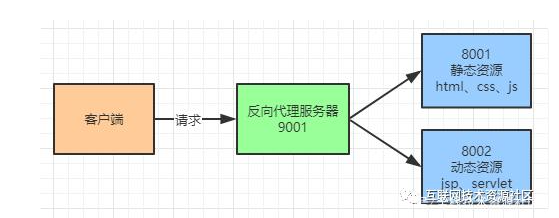
- 反向代理
- 负载均衡
- 动静分离
2、Nginx的安装
Windows
打开官网:http://nginx.org/en/download.html
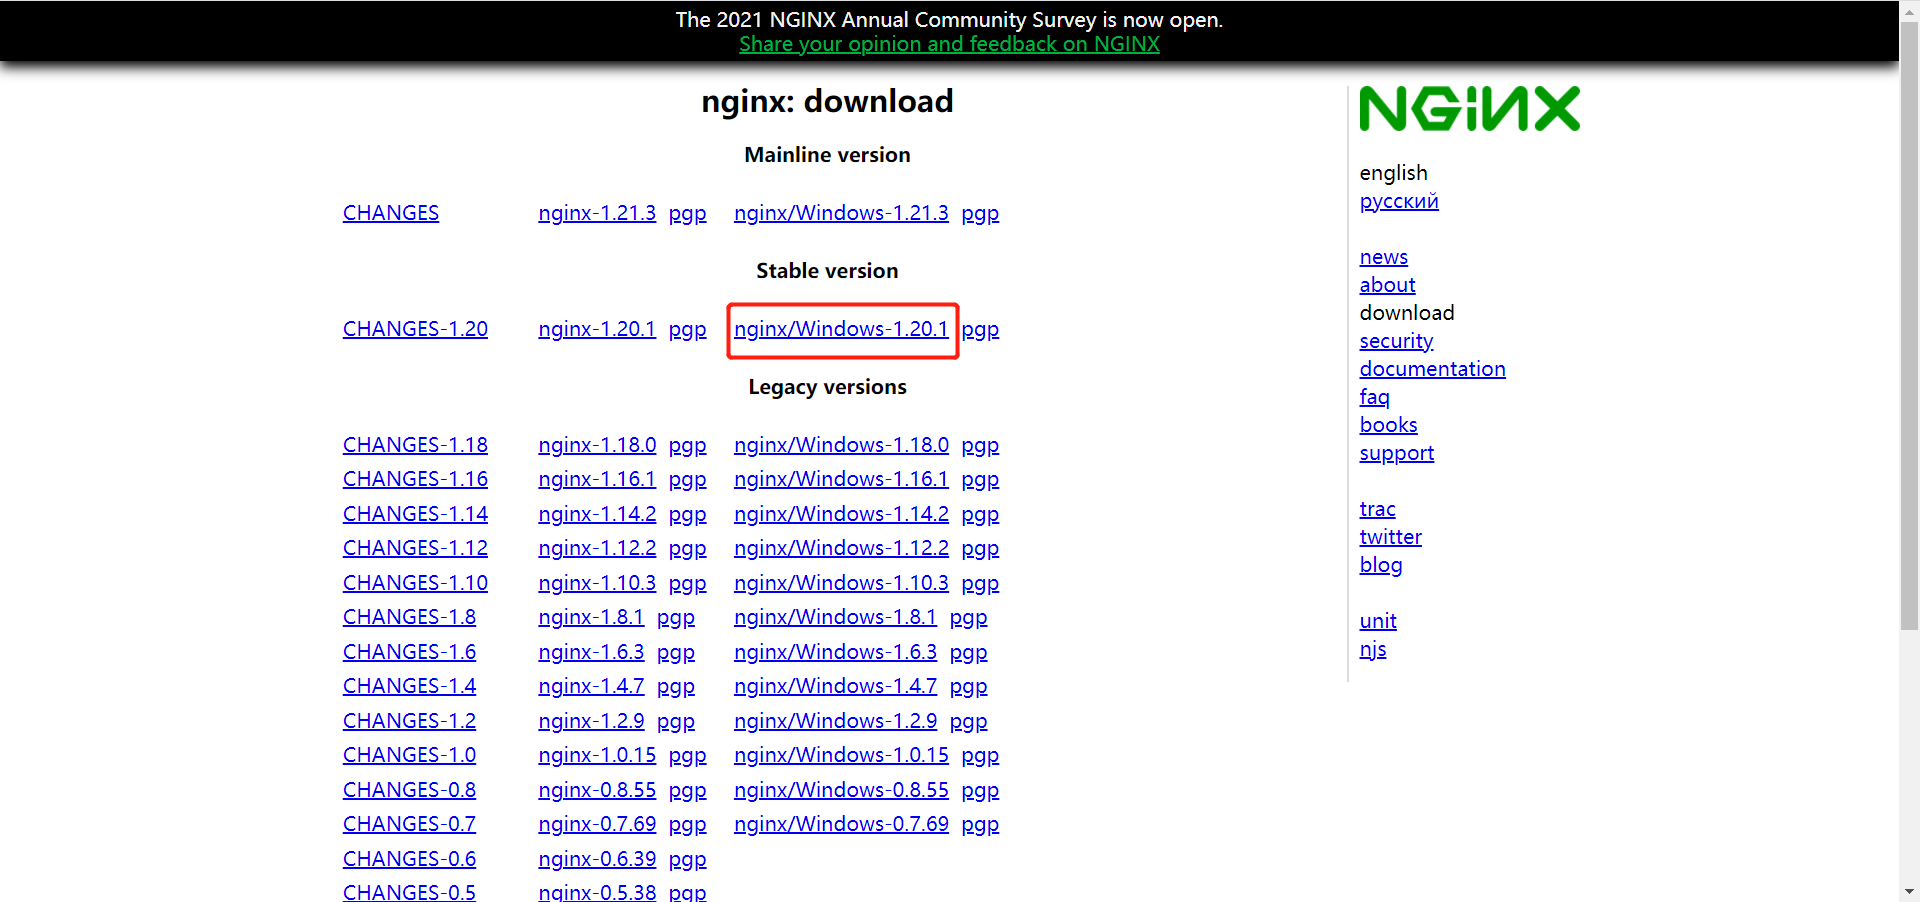
下载完成之后直接解压即可
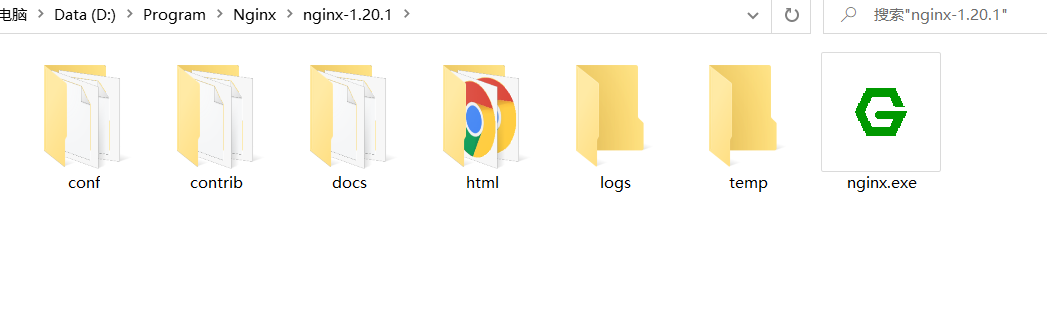
主要修改
conf文件夹下的ginx.conf配置文件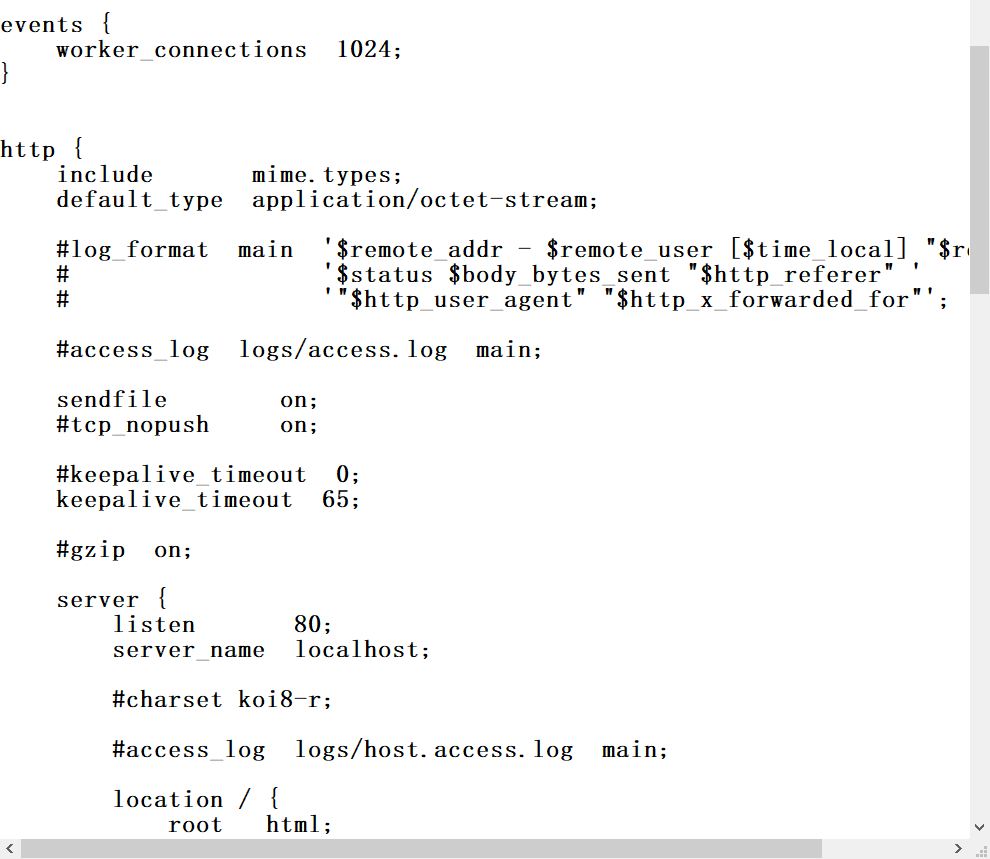
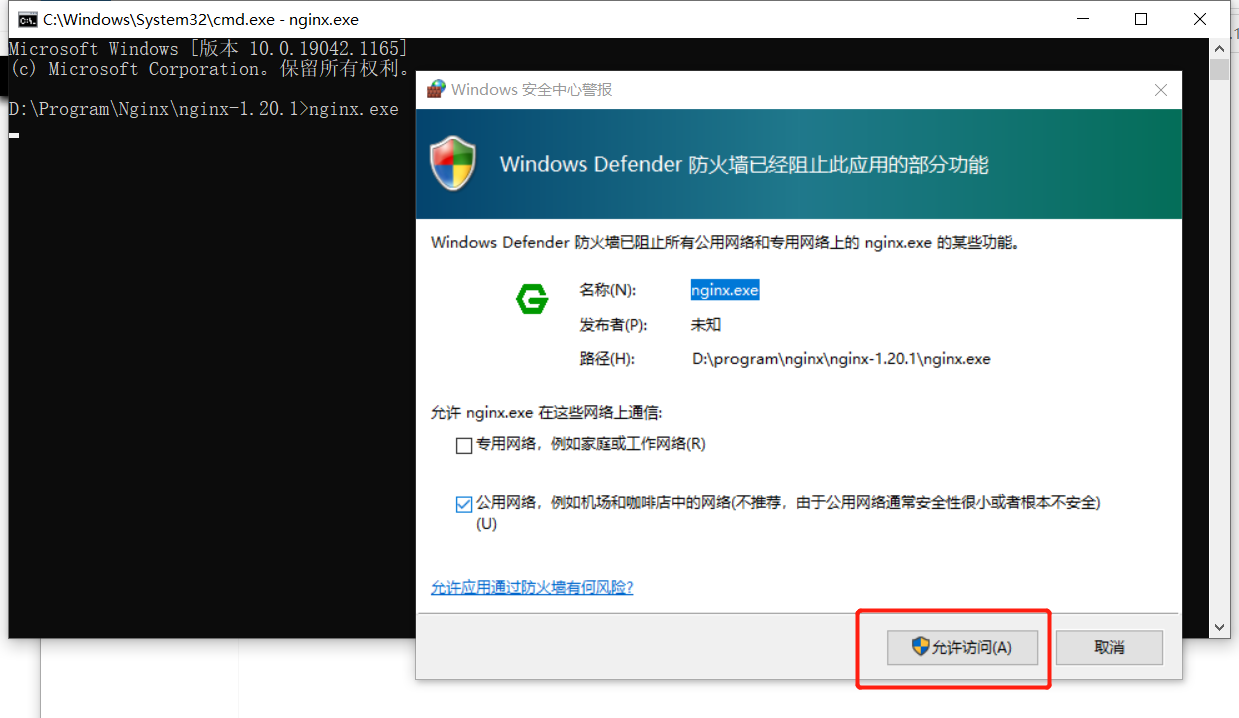
启动方法:在终端输入nginx.exe
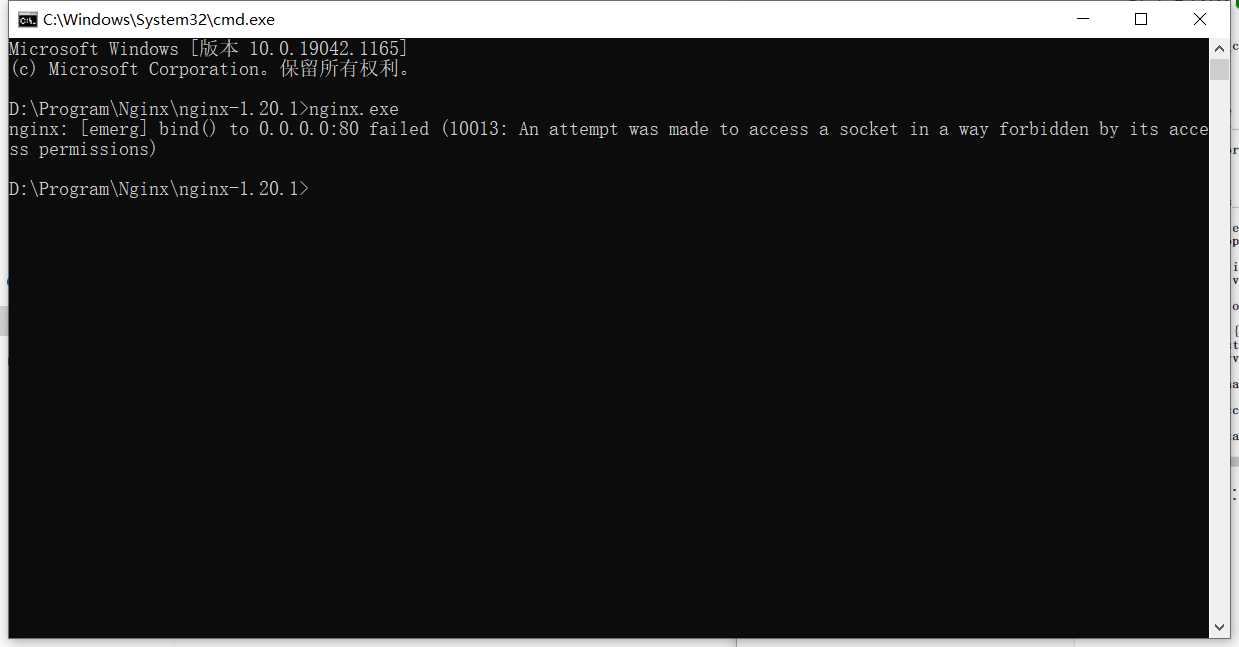
这时发现本地的80端口被占用了,修改配置文件的端口为9000
再次启动nginx
访问
http://localhost:9000/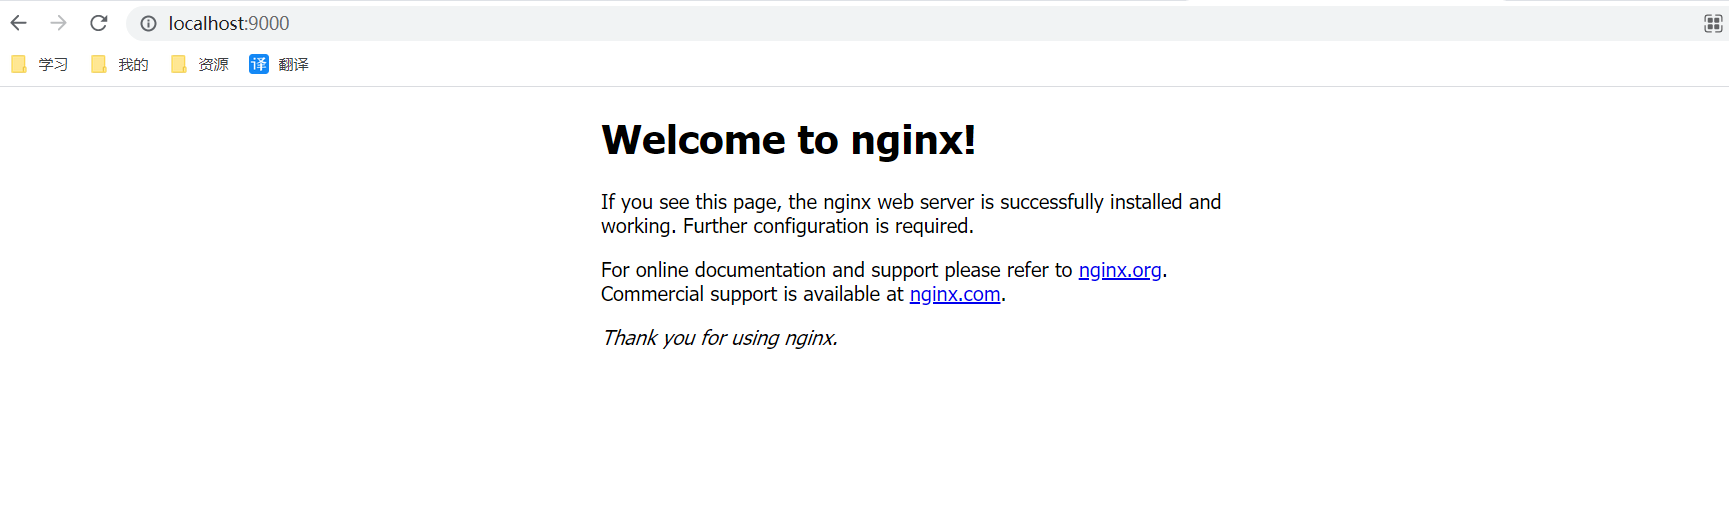
执行
nginx.exe -s stop可以停止服务
Linux
访问官网下载安装包
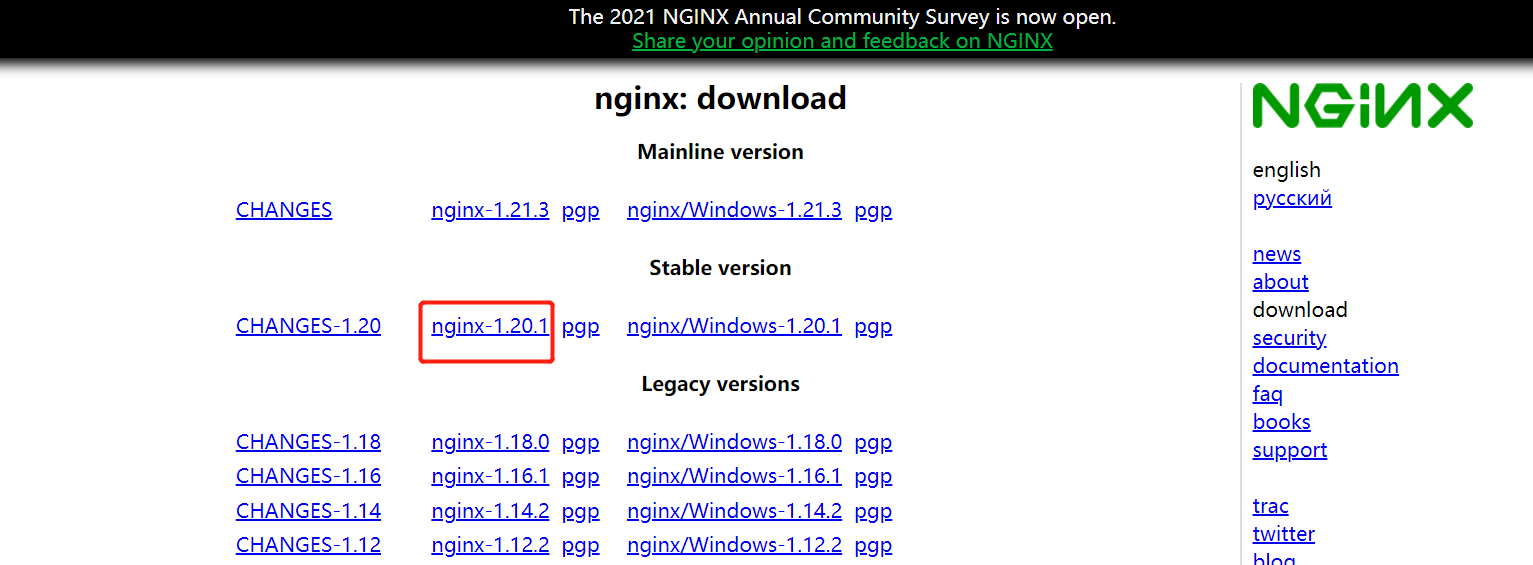
将下载完成的
nginx-1.20.1.tar.gz安装包上传到服务器上/opt解压文件
tar -zxvf nginx-1.20.1.tar.gz进入nginx目录
cd nginx-1.20.1执行
configure配置文件./configure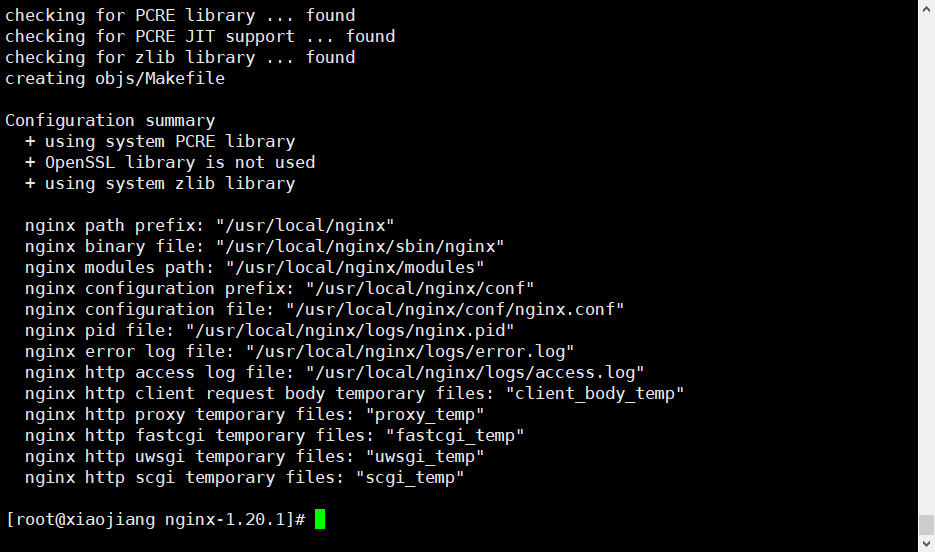
执行完毕之后,执行如下命令
make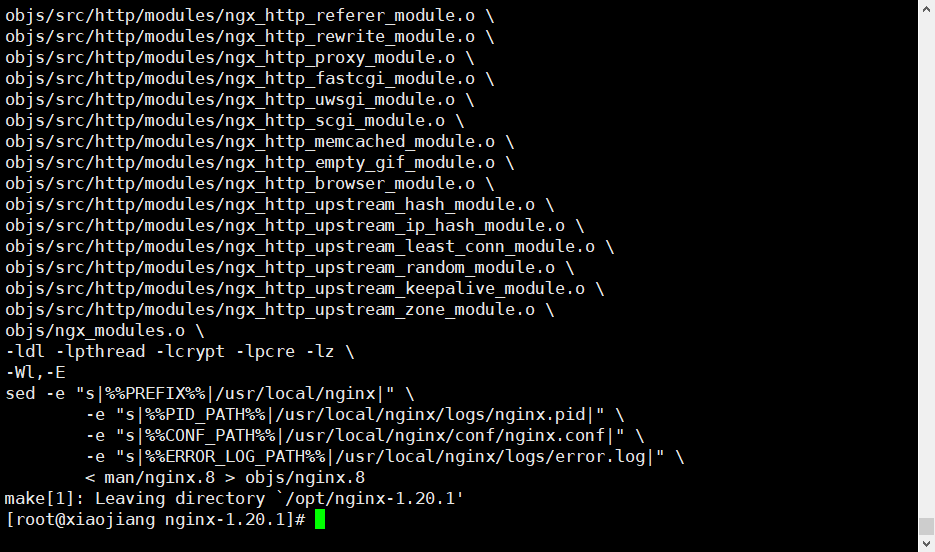
最后执行
make install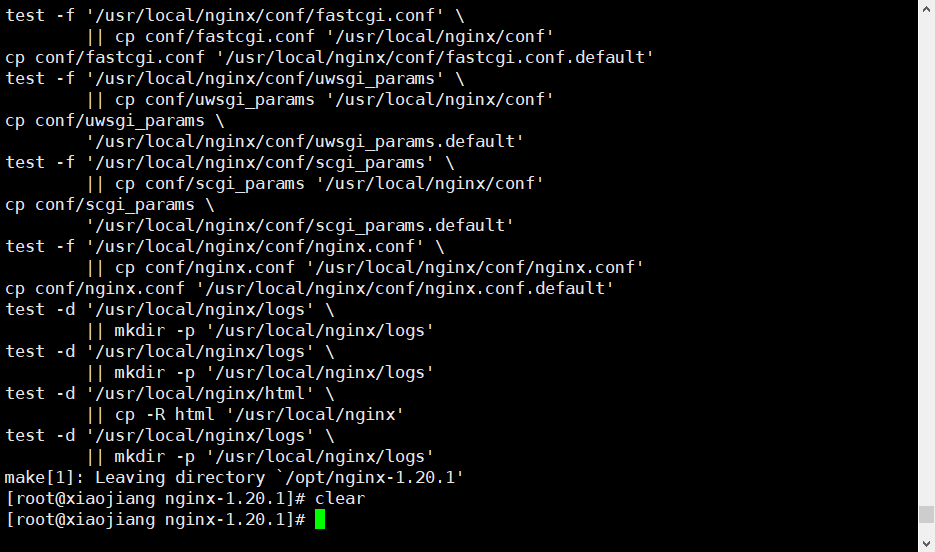
查找安装后的
nginx位置,并进入目录whereis nginx cd /usr/local/nginx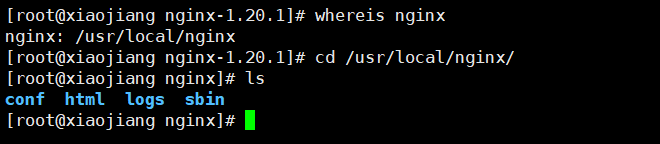
其中
sbin存放可执行文件,里面包含nginx执行文件启动nginx
cd sbin
./nginx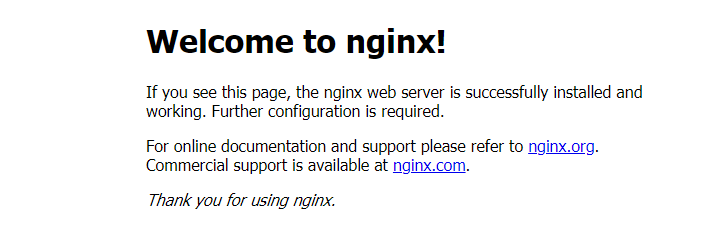
配置文件存放在
conf目录下的nginx.confcd .. cd conf cat nginx.conf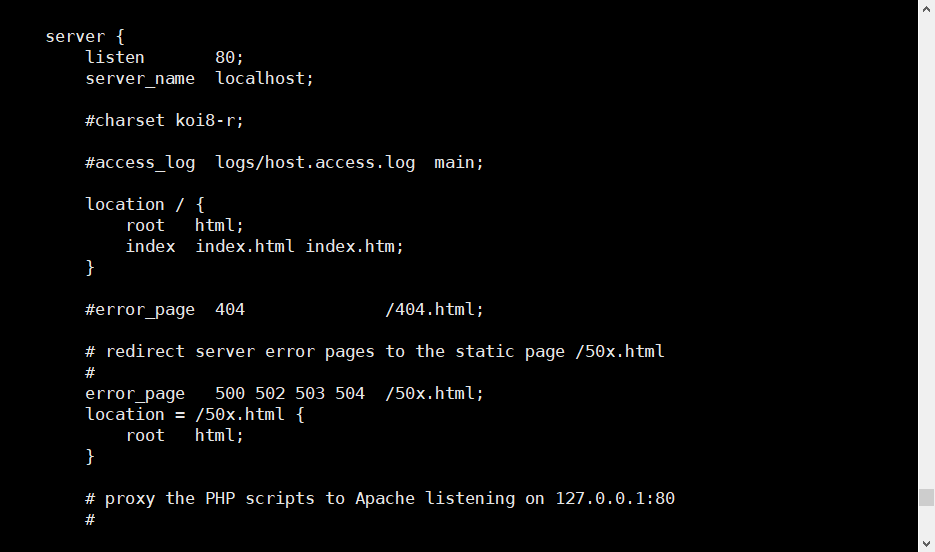
3、Nginx的常用命令
# 启动nginx
./nginx

# 停止nginx
./nginx -s stop

# 安全退出
./nginx -s quit

# 重新加载配置文件
./nginx -s reload

# 查看nginx进程
ps -aux|grep nginx

# 查看nginx版本号
./nginx -v
4、Nginx配置文件
主要部分
主要分为三个大模块:
- 全局配置
- events 模块
- http 模块
http 模块主要分为四个部分:
- main(全局设置):main部分设置的指令将影响到其它所有部分设置
- server(主机设置):server部分的指令主要用于指定虚拟主机域名、IP和端口
- upstream(上游服务器设置,主要为反向代理、负载均衡相关配置):upstream的指令用于设置一系列的后端服务器,设置反向代理及后端服务器的负载均衡
- location(URL匹配特定位置后的设置):location部分用于匹配网页位置(比如,根目录“/”,“/images”,等等)
配置文件模板
参考文章:https://www.cnblogs.com/hunttown/p/5759959.html
# 全局配置

events {
    worker_connections  1024;
}

http {
    # http 配置

    upstream xx {
        # 负载均衡配置
    }

    server {
        listen        80;
        server_name    localhost;
        location / {
            # 80端口下的根路径请求都会到这里
        }

        location /admin {
            # 访问/admin到
        }
    }

    server {
        listen        443;
        server_name    localhost;
    }
}
基本配置内容
# 定义Nginx运行的用户和用户组
#user  nobody;

# nginx进程数,建议设置为等于CPU总核心数。
worker_processes  1;

error_log /data/nginxlog/error.log;
# 进程pid文件
pid /run/nginx.pid;

# 以上内容为全局配置

# 事件区块
events {
    # 每个worker进程支持的最大连接数
    worker_connections  1024;
}

# 设定http服务器,利用它的反向代理功能提供负载均衡支持
http {
    # 负载均衡配置
    upstream www.lxjstudy.top {
        # upstream的负载均衡,weight是权重
        server 192.168.80.121:80 weight=3;
        server 192.168.80.122:80 weight=2;
        server 192.168.80.123:80 weight=3;
    }

    # 文件扩展名与文件类型映射表
    include       mime.types;
    # 默认文件类型
    default_type  application/octet-stream;

    #access_log  logs/access.log  main;

    # 开启高校传输模式
    sendfile        on;

    # 长连接超时时间,单位是秒
    keepalive_timeout  65;

    # 虚拟主机的配置
    server {
        # 提供服务的端口,默认80
        listen       80;

        # 域名可以有多个,用空格隔开
        server_name  localhost www.lxjstudy.top;

        # 图片缓存时间设置
        location ~ .*.(gif|jpg|jpeg|png|bmp|swf)$
        {
            expires 10d;
        }

        # JS和CSS缓存时间设置
        location ~ .*.(js|css)?$
        {
            expires 1h;
        }

        # 对 "/" 启用反向代理
        location / {
            # 站点的根目录
            root   html;
            # 默认的首页文件,多个用空格分开
            index  index.html index.htm;
        }

        # 出现对应的http状态码时,使用50x.html回应
        error_page   500 502 503 504  /50x.html;
        location = /50x.html {
            root   html;
        }
    }
}
5、负载均衡
轮询算法(默认)
每个请求按时间顺序逐一分配到不同的后端服务器,如果后端服务器down掉,能自动剔除。
# 负载均衡配置
upstream www.study.top {
    server 192.168.80.121:80;
    server 192.168.80.122:80;
    server 192.168.80.123:80;
}
加权轮询
指定轮询几率,weight和访问比率成正比,用于后端服务器性能不均的情况。
upstream www.study.top {
    server 192.168.80.121:80 weight=3;
    server 192.168.80.122:80 weight=2;
    server 192.168.80.123:80 weight=3;
}
iphash
每个请求按访问ip的hash结果分配,这样每个访客固定访问一个后端服务器,可以解决session的问题。
upstream www.study.top {
    ip_hash;
    server 192.168.80.122:80;
    server 192.168.80.123:80;
}
6、动静分离
为了加快网站的解析速度,可以把动态页面和静态页面有不同的服务器来解析,减少服务器压力,加快解析速度。
7、配置SSL证书
下载证书
查看Nginx的配置文件位置
whereis nginx
# 或者使用
ps -ef|grep nginx
将证书上传到服务器上,一般与配置文件同级目录下创建 cert 文件夹,但如果之前配置过,应该查看配置文件中的位置

修改配置文件
vim nginx.conf,引用我们添加的配置文件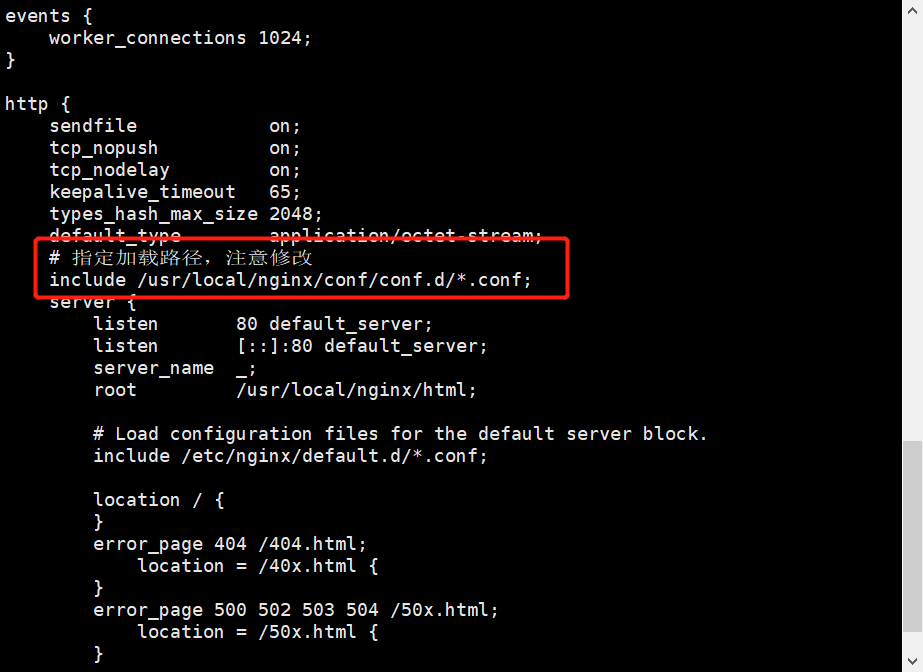
编写新的配置文件
upstream myweb_dev{
    # 这里必须指向应用程序的端口
    server 127.0.0.1:8000;
}

server {
    listen 80;
    listen [::]:80;
    # 通过访问这个域名就可以访问到该项目了
    server_name www.lxjstudy.top;
    return 301 https://www.lxjstudy.top;
}

server {
    listen                 443 ssl;
    server_name            www.lxjstudy.top;
    index                  index.html;

    gzip             on;
    gzip_min_length  1k;
    gzip_comp_level  5;
    gzip_types       text/plain application/x-javascript text/css application/xml application/javascript application/json;

    ssl_certificate /usr/local/nginx/cert/6143058_www.lxjstudy.top.pem;
    ssl_certificate_key /usr/local/nginx/cert/6143058_www.lxjstudy.top.key;

    ssi on;
    ssi_silent_errors on;
    ssi_types text/shtml;

    # 这里必须这样配置,不然访问不了项目内容
    location / {
        add_header Access-Control-Allow-Origin *;
        add_header Access-Control-Allow-Headers X-Requested-With;
        add_header Access-Control-Allow-Methods GET,POST,OPTIONS;

        proxy_pass    http://myweb_dev/;
        proxy_set_header Host $host;
        proxy_intercept_errors on;
    }
    location /connectWebSocket/ {
        # 这里需要设置端口
        proxy_pass http://127.0.0.1:8000/connectWebSocket/;
        proxy_http_version 1.1;
        proxy_set_header Upgrade $http_upgrade;
        proxy_set_header Connection "Upgrade";
        proxy_set_header X-Forwarded-For $proxy_add_x_forwarded_for;
        proxy_set_header X-Real-IP $remote_addr;
    }
}
重启
nginx以生效./nginx -s reload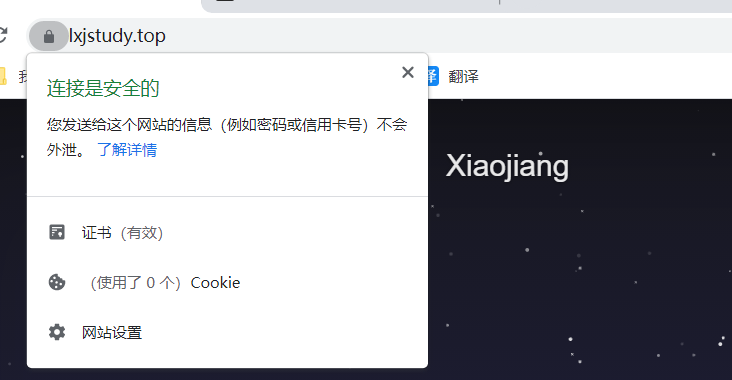
- 本文链接:https://lxjblog.gitee.io/2021/09/10/Nginx%E5%9F%BA%E6%9C%AC%E4%BD%BF%E7%94%A8/
- 版权声明:本博客所有文章除特别声明外,均默认采用 许可协议。